Back to Contents
Back to DCC
Link to Sitemap
SPROG DCC
Here we go then; our first product review. These will be few and far between as we use this website to pontificate about things we’ve enjoyed and/or found useful in the world of toy trains.
SPROG?
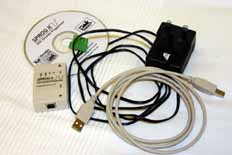
Yep - well; SPROG II, actually. It’s a ‘computer based programmer for DCC decoders’ or so it says here. Assuming it really was that simple I decided to give it a whirl, my choice was for the USB version and I bought the recommended power supply at the same time. I ordered it from the sprog-dcc.co.uk website. A day or so later a jiffy bag dropped through the letterbox containing the SPROG, its power supply, a software CD and to my genuine surprise; the cables required to get it all working.
The SPROG itself is a dinky little cream box, about half the size of a pack of 20 Golden Throat Charmers with a set of sockets each end. On one end a standard USB type ‘B’ socket which plugs using the supplied lead into your PC. At the other end of this little box is a four-pole socket, which takes the cable from the power supply. Two of the connections on this plug are unused and it’s to these that the wires to/from your Programming track must be connected.
And it really is that simple.
Installation
Hmm, not entirely convinced about this bit. For goodness sake take your time to identify what software you’ll need to install. The Java application is almost certain to be needed, so too the JMRI software. I use Windows XP SP2 on my PC so needed to manually install two drivers from the supplied disc. Take your came/time with this stage and all will be well – I managed to install mine first try; even if it was a bit convoluted.
It’s worth remembering that the guys behind SPROG do not count as one of the big consumer electronics companies and so the installation is more ‘fit-for-purpose’ than ‘flashy’.
Once installed
What follows is a run through of DecoderPro v1.6.1 as we were using in 2006 when I first got hold of the SPROG. The current version is a lot less clunky, has more decoder types in it and seems to be all round a much more mature product. The SPROG too has had its fair share of updates - the current version even proving remarkably capable at programming 'difficult' sound decoders.
I must admit I really like the JMRI Decoder Pro software interface. It’s a bit clunky but clear and purposeful none the less. Lets have a look at a typical set of screens, in this case for the Lenz ‘Gold’ decoder. As you'd expect; all the screenshots of the software are 'clickable' so you can see larger (in fact near full-size) versions - though I must point out that the slightly 'fuzzy' appearance of some of them is down to the image compression I had to use. The real thing is somewhat clearer!
This is the first screen you're presented with after clicking the icon on your desktop
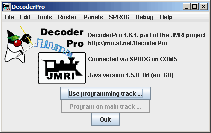
After clicking the 'Use programming track' button you'll get this screen come up - this gives you a choice of decoders, selected by their manufacturer. There's also the option of selecting a loco from your own roster. The locos you have previously programmed with DecoderPro have their settings saved, they can be accessed from a drop-down menu where it says 'Use locomotive settings for:'. Useful if you need to make a change or two to a previously-programmed loco.
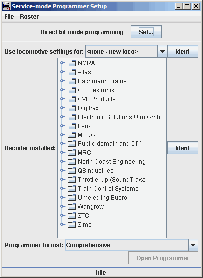
Clicking a couple of the toggles on the left hand side of the screen will get you to the choice of 'Gold' or 'Gold Mini', click on the page icon for the 'Gold' and then the 'Open Programmer' button towards the bottom of the screen.
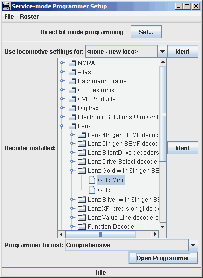
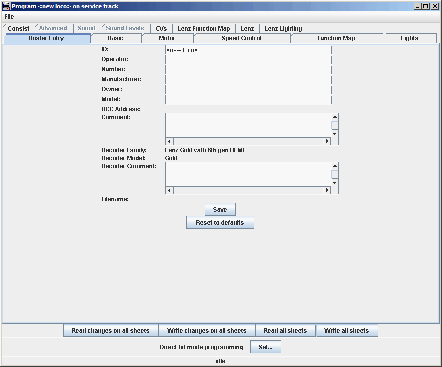
And now you're into the programming screens. This first one actually records data for your own records. The first field; 'ID' should be filled in now - this is how the entry will appear in the roster.
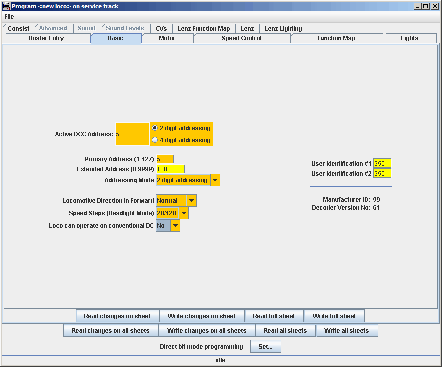
This is the first true programming screen, it allows you to make a number of changes to the locomotives address and configuration. I've set this one for a 2-digit address of '50' and set to not run on analogue control. As you can see any changes are highlighted (in orange). The buttons along the bottom of the screen are present on every screen, so you can chose either to write the changes on a sheet by sheet basis, or make all the changes and then write them all at once, at the end. Easier than plugging through sets of CVs isn't it?
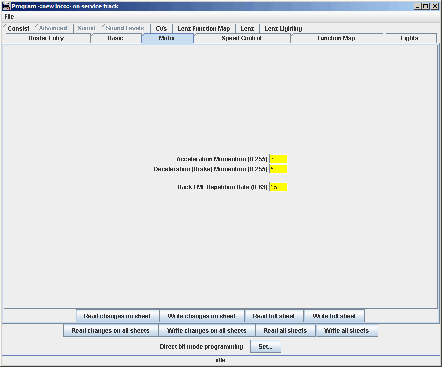
I'm not going to concenttrate too much on the detail of the next few screens except to say that as you will see it's worth keeping the manual for your particular decoder handy - though the DecoderPro software does make life a lot easier it's not foolproof!
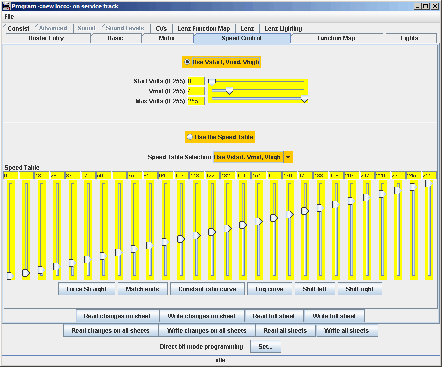
This is a really useful screen; used for setting either max/min speeds or full speed curves. One great thing with this screen is it works either by typing in a number or moving the sliders on the screen.
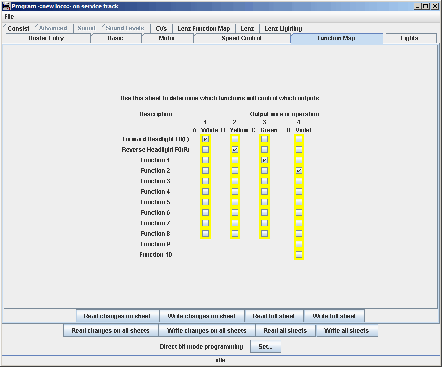
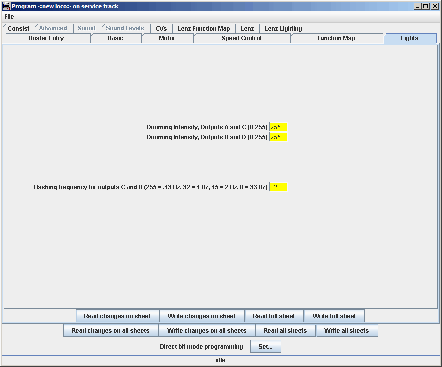
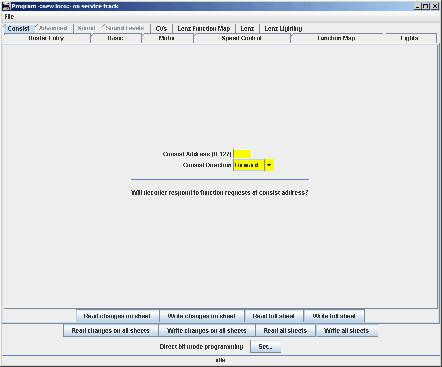
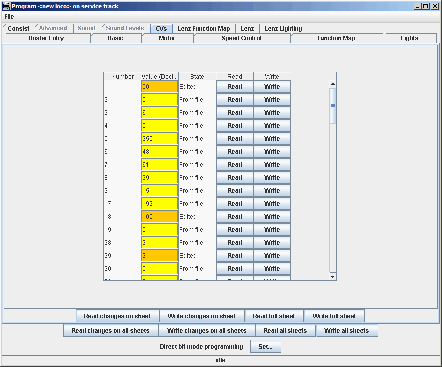
I sometimes find that some of the CVs I want to adjust aren't on the programming screens. Thankfully the full set of CVs can be accessed through this screen.
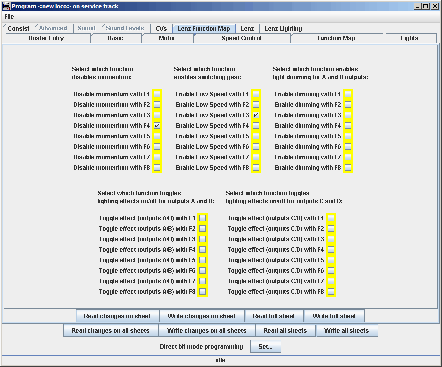
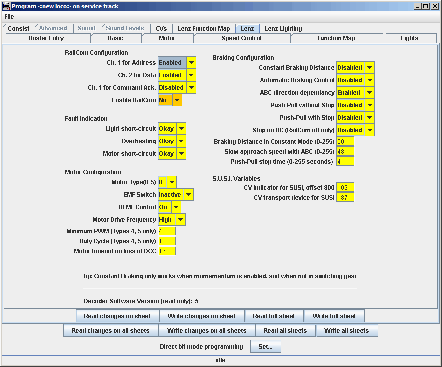
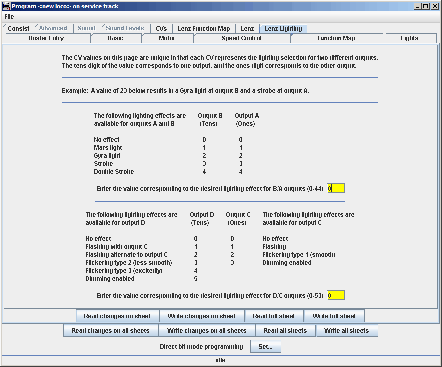
At this point, having programmed your decoder you might want to go back to the first 'Roster Entry' screen to add some text into the fields to remind you what or how you did to program this loco. I often add info on motor type or whether the loco has a power unit with it. Then it's a simple job of making sure all changes have been written to the decoder, I usually do a 'Read all sheets' to make sure the values have been correctly programmed. Finally pressing the 'Save' button in the middle of the screen will commit all your changes to the Roster.
All pretty intuitive, I hope you'd agree.
Tricks
Cutting and pasting of CVs becomes a practical consideration. There are several ways of doing this, including frigging the XML files if that’s your particular sort of thing. The simplest way of copying the CVs it is to read the CVs from a properly programmed loco, then swap the loco for the one you want to copy to and writing the values in.
I then get back on the ‘Compact’ to change the address and hey-presto, two identically programmed locos with different addresses. Usefull if you’ve got more than one of a certain loco type – it means that it’s worth spending time optimising the CV set as copying across then becomes a ‘two click’ operation.
Weaknesses
On v1.6.1 there was only one really; though there’s an operational ‘what the…?’ a bit later on. And the weakness is a simple one. Always let the SPROG/JMRI finish one operation before asking it to do something else. I tried queuing a set of write/read commands and only succeeded in getting the poor thing to lock up. So you have been warned about trying to rush it; in truth it’s so much faster than any other method of programming that a little patience is neither here nor there.
And the ‘what the…?’ occurs with Lenz Gold decoders if you’re reading all the CVs. This reflects the ‘open source’ nature of the JMRI Java application. Anyone can have a go at writing an application in Java for JMRI and the Lenz ‘Gold’ one has a small bug in it – it attempts to read CV127 which is the transport address for a SUSI-connected device. If that was complete gobbledygook to you don’t worry; just take it from me that CV127 doesn’t have an assigned value. So when JMRI reaches that point to read the CV it waits for the result to come back. Which of course, it never does. Now, remember what I said about ‘don’t rush the SPROG’? In this instance do – hit "read" for CV128 and it’ll jump CV127 and carry on…
There may be other operational errors – but this is the only one I’ve found so far and although not resolved in v1.6.1 later issues have overcome these issues.
Oh yeah, and v1.6.1 of JMRI doesn’t have Lenz ‘Silver’ decoders available, again it’s a case of maybe the next version (yep, they're in there now!). Incidentally you can use a part set of the ‘Gold’ decoder screens although the ‘Generic’ would probably work just as well. And if you're a commited user of both DecoderPro and the Silver series of decoders I've managed to hack a version of the 'Gold' decoder definition file to make one for the 'Silver' decoders - as this is somewhat superfluous with the current release of DecoderPro it's now no longer available from this 'site.
The JMRI software can be painlessly upgraded with the SPROG installed so I don’t think any of these are big issues. There is also the advantage that any decoder coming on to the market can be incorporated onto JMRI in future.


